

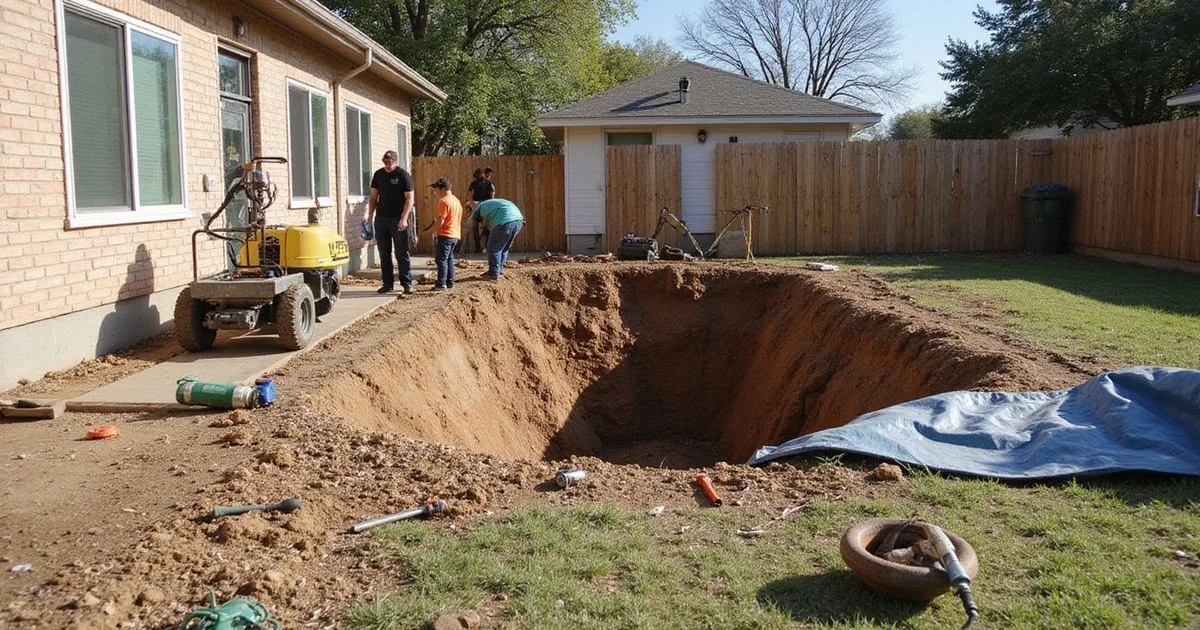
Before anyone digs
By the time a crew arrives, the work should already be defined. A digital manometer elevation survey has mapped the floor, pier locations are marked on a plan, the system is specified, the permit is filed, and where relevant a licensed plumber has performed a pre-lift hydrostatic test.
If any of that has not happened, that is the conversation to have before the first trench opens, not after. Our slab foundation repair scopes cover each of those items in writing.
Day one: set-up and access
The crew confirms the access plan with you: where equipment stages, where spoil goes, which route material takes, and whether a fence panel needs removing.
Irrigation heads and lines along the pier locations are located and marked before excavation starts. On post-tension slabs, tendon locating happens before any coring or tunneling, and tendon positions are marked.
Then excavation begins. Each exterior pier location needs a working hole cut down alongside the grade beam, large enough for the crew to work beneath the foundation edge.
Pier installation
Piers are advanced beneath the grade beam using hydraulic force, with the weight of the structure itself providing the reaction.
Pressed concrete pilings are pressed in as a stack of cylinders forming an interlocking column. Steel piers are driven as sections in sequence. Either way, advance continues until the pier meets material capable of carrying load, the point called refusal.
Depth and installation pressure are recorded at each location. That log is the only durable evidence of what went in once the ground is backfilled, and it should form part of your closeout package.
Interior access, where required
Where the survey shows an interior grade beam has dropped, piers are needed inside the footprint. There are two routes.
Breakout. A section of finished floor and slab is removed to reach the location, then patched and the flooring reinstated afterwards.
Tunneling. A tunnel is excavated in from the perimeter beneath the slab to reach the location without touching the floor above. It costs more per access point, takes longer, and frequently costs less overall than replacing tile or hardwood across several rooms. Our guide on under-slab tunneling covers it in detail.
The lift
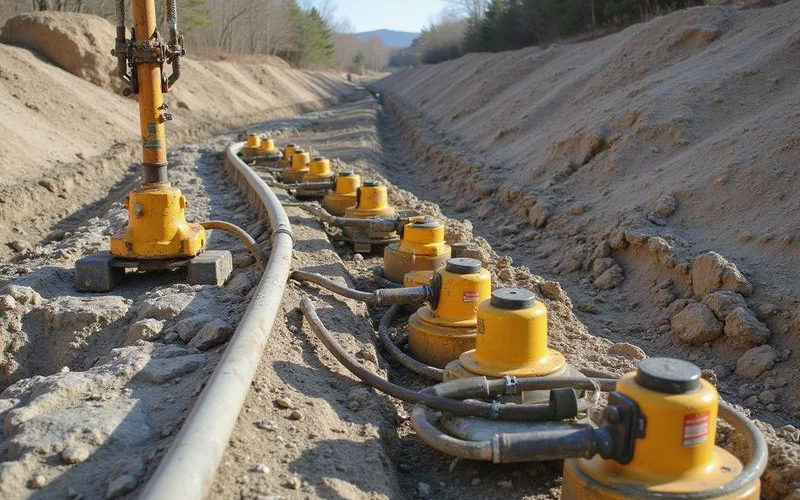
Once piers are installed, hydraulic jacks are positioned and the structure is lifted incrementally under transit monitoring.
Incremental matters. A slab is a single element, so lifting one area transfers stress across it. Raising in stages lets the structure and its finishes accommodate the movement gradually instead of all at once.
The target is a realistic elevation profile agreed before work started, not a laser-flat floor. Some cracking of finishes during a lift is normal and expected, which is why pre-lift condition photographs are taken.
When the target is reached, shims are set and the load is transferred permanently onto the piers.
Backfill and restoration
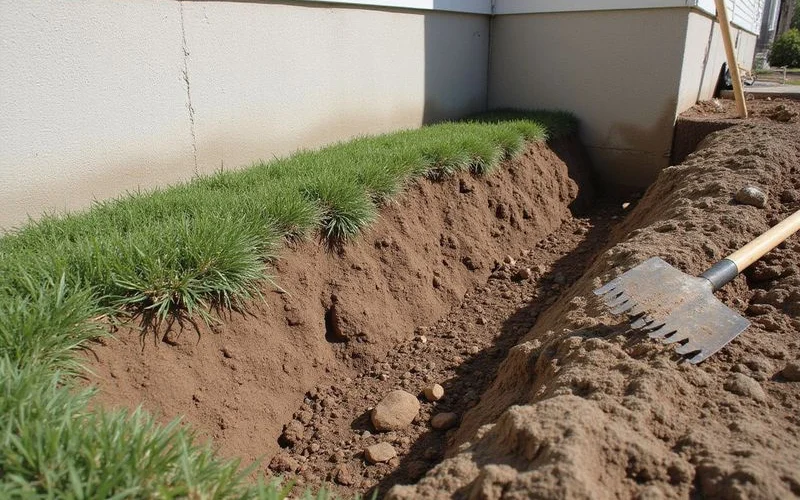
Trenches and tunnels are backfilled and compacted. Turf, beds, and hardscape are reinstated per the written scope. Irrigation lines cut during the work are repaired.
This is where written scope earns its place. “Site left tidy” is not a restoration clause. What gets replanted, what gets replaced, and what is excluded should all have been agreed before the first trench opened.
Inspection and plumbing verification
The city inspection happens while the work is still observable. Once backfill goes in, nothing below grade can be verified visually, which is why scheduling the inspection properly matters.
Where hydrostatic testing is part of the scope, the plumber returns after the lift. Under-slab lines move with the slab, and an elevation change can open a joint that was sound before.
What you should have at the end
- Pre- and post-lift elevation records
- Pier installation log with depth and pressure per location
- Permit and inspection sign-off
- Hydrostatic test results, where testing was performed
- The written transferable warranty
Keep the package. It is the evidence of what was done and it travels with the property.
Typical timeline
| Stage | Typical duration |
|---|---|
| Access set-up and locating | Part of day one |
| Exterior pier installation | One to two days for a typical count |
| Tunneling, where required | Adds one or more days |
| Lift and shimming | Part of a day |
| Backfill and restoration | Final day |
Weather, ground conditions, obstructions, and plumbing findings all move these. A quote should state the expected duration rather than leaving it open.