

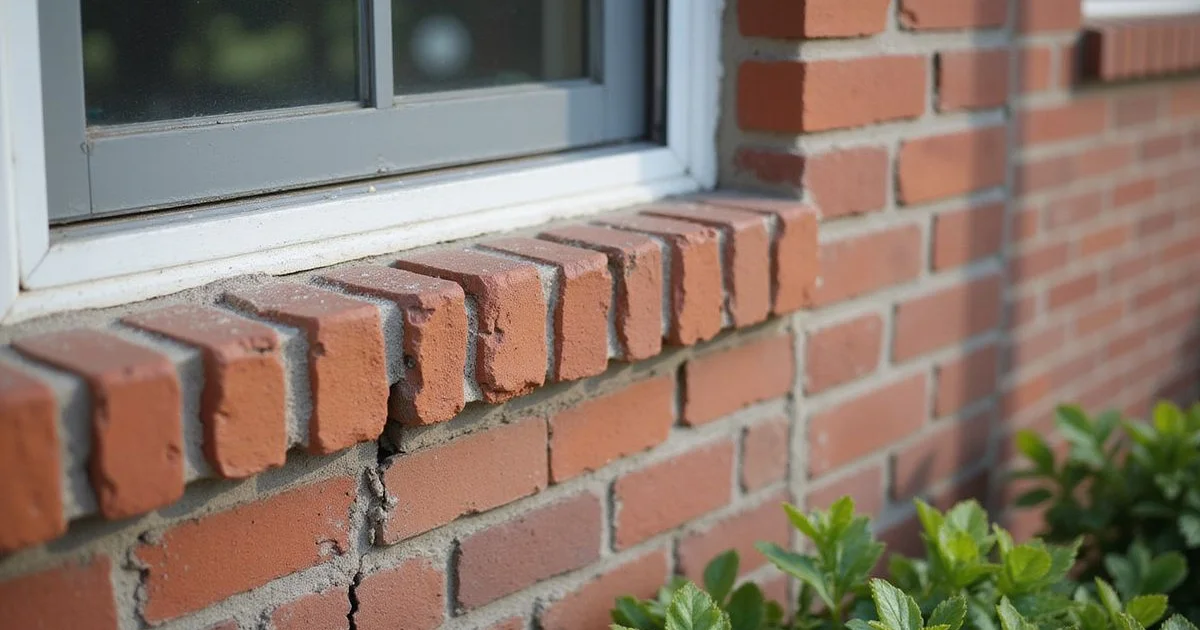
When you notice new brick cracks, foundation problems are usually the first fear that comes to mind.
Seeing a jagged line split the side of your home or commercial building immediately brings up fears of massive structural failure. From what we observe in the field, these exterior signals are often misunderstood.
We are going to break down the specific patterns you might see, explain the data behind the movement, and walk through the exact evaluation process our team relies on in 2026.
Why brick cracks first
Brick veneer acts like a rigid shell wrapped around a much more flexible wooden or steel skeleton. Standard building codes require a one-inch air gap between the framing and the masonry. This gap allows the inner frame to flex with wind or temperature changes while the outer shell remains stiff.
Because brick lacks the flexibility of wood or steel, it absorbs stress by cracking, making it a highly visible indicator of foundation shifts.
Sensitivity vs. Severity
We consider brick to be an incredibly sensitive reporter of structural movement. It also serves as an alarming one.
A fracture running up a facade looks far more serious than a corresponding hairline in the interior drywall. Sensitivity, however, is very different from severity.
Our job is to figure out the exact scale and cause of that shift. How much the ground moved, whether the settlement is continuing, and what triggered it are entirely separate questions.
Stair-step cracking
This familiar diagonal staircase pattern, often referred to as stair step cracks brick, appears most often in discussions of foundation warning signs. The zig-zag shape forms because the binding agent is intentionally designed to be the weakest link in the wall system. We typically see builders use Type N mortar for residential facades, which has a compressive strength of around 750 pounds per square inch.
The same reasoning applies indoors. Our guide on interior wall cracks and what they mean covers the drywall patterns that often accompany masonry cracking.
Material Strength Comparison
Understanding the strength differences explains why exterior mortar cracks take this specific shape.
| Material | Average Compressive Strength | Role in Wall System |
|---|---|---|
| Type N Mortar | 750 psi | Sacrificial binder designed to absorb stress. |
| Type S Mortar | 1,800 psi | Stronger binder for load-bearing or seismic zones. |
| Clay Brick | 3,000+ psi | Primary structural unit designed to remain intact. |
The fired clay units themselves often boast a strength exceeding 3,000 psi. Therefore, structural stress naturally travels along the path of least resistance through the weaker bed and head joints.
It usually appears near window frames, door openings, and corners. Those specific spots act as natural pinch points where tension concentrates.
Our team carefully inspects these specific areas to understand the failure path. The assessment looks at whether the separation is confined purely to the mortar or if it actually shears through the solid masonry.
You must also note whether the two sides have displaced relative to each other rather than simply pulled apart. We track how the gap width changes along its length to see if it corresponds to an interior elevation drop.
Vertical cracking
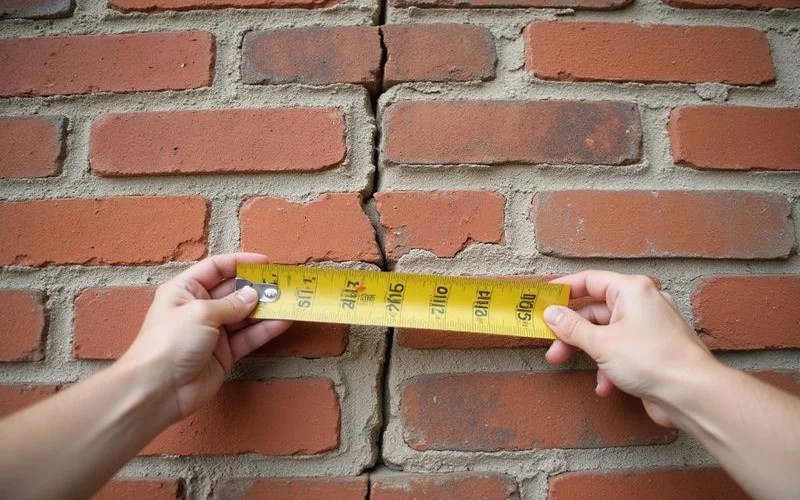
A vertical separation runs straight up through both the solid units and the joints rather than stepping diagonally. These straight lines frequently appear at corners, where an addition meets the original wall, or at a planned control joint.
Expansion joints act as safety valves for your building’s exterior, absorbing the daily stress of thermal expansion before it can shatter the mortar.
We find that modern building standards from the Brick Industry Association recommend placing vertical expansion joints every 20 to 25 feet along a residential wall. These gaps are placed for exactly this purpose, allowing the facade to safely expand and contract with seasonal temperature swings.
Junctions and Additions
A vertical split at a wall junction very often reflects two sections of a building behaving differently, rather than either one actively failing.
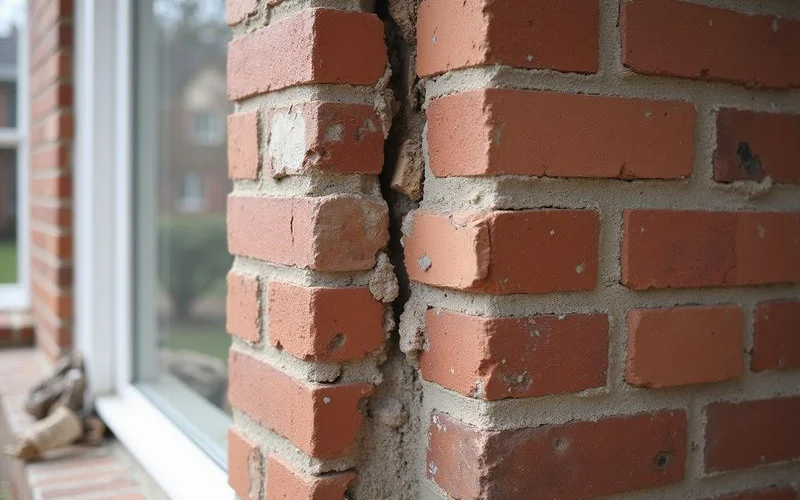
That distinction matters a great deal for your repair budget. An addition poured at a different time, resting on differently prepared ground, will naturally settle at its own unique rate. Cracking at this specific seam is simply the two structures announcing that they are independent entities.
Our experts always check to see if the builders properly installed a flexible sealant at these junctions instead of rigid mortar. Skipping that crucial step is a common pitfall that forces the facade to tear itself apart during thermal expansion.
Other exterior observations
Key Warning Signs to Watch For
Beyond the primary fractures, you should inspect the rest of the exterior for secondary clues.
- Separation at the mortar line above windows, where a supporting steel lintel is involved. A standard 5/16-inch steel lintel can deflect under heavy loads, causing the courses above it to drop.
- Gaps opening between brick and window or door frames, indicating the facade is pulling away from the structural framing.
- A porch or patio slab pulling away from the wall, which often points to localized soil erosion or poor compaction.
- Brick courses that are visibly out of level along a horizontal run.
- Soil pulled back from the slab edge, which tells you exactly how much clay contraction is happening. Expansive soils containing smectite clay can experience up to a 30% volume change between wet and dry seasons.
We advise walking the perimeter of your property twice a year to spot these specific issues early. Catching a deflected lintel or a shrinking soil bed in the summer can prevent major structural repairs in the winter.
What appearance alone cannot establish
Visual inspections have strict limits. Appearance alone cannot establish actual elevation difference, which is what definitively proves differential movement across a slab.
We rely on high-precision altimeters like a Zip Level to measure the exact drop from one room to another. A photograph cannot establish whether the separation is actively progressing without an earlier benchmark for reference.
Hidden Subsurface Factors
The naked eye cannot separate soil-driven shifting from an under-slab plumbing leak. You simply cannot rule out an original construction irregularity based on a picture.
There is absolutely no universal rule regarding gap width. The measurement tells you how much movement occurred at that specific point, not whether the shifting is continuing today. A narrow gap that has doubled in size over the last two years matters far more than a wider one that has been completely static since the house was built in 1990.
Our policy strictly forbids diagnosing complex structural issues from submitted photographs. Smart property owners should remain highly cautious about any contractor who offers a firm repair quote based solely on a few smartphone pictures.
What to document
Gathering precise data over time is the most helpful action you can take.
- Width at the widest point, utilizing a standard US quarter (which is exactly 0.95 inches across) or a tape measure for scale.
- Precise location on the elevation, noting whether it sits near an opening or a corner.
- General direction, categorizing it as stair-step, vertical, or horizontal.
- Material penetration, checking whether it passes through the solid units as well as the joints.
- Surface displacement, feeling whether the two sides have shifted relative to each other.
- Consistent dated photographs, capturing a repeat angle across an entire season.
We highly recommend installing an acrylic Avongard crack monitor over the separation if you suspect ongoing movement. This inexpensive gauge features a grid and crosshairs that visually track millimeter-level shifts in both horizontal and vertical directions.
Expansive clay soils across the US, particularly in regions like North Texas, move on a drastic annual cycle. Discovering whether a gap opens in August and closes in November, or simply opens and stays open, provides genuinely diagnostic information. Only a vigilant property owner can gather this essential seasonal data.
The next step
The definitive way forward is to connect your exterior observations with interior data. An evaluation maps the floor elevations inside the building and compares them directly against what the exterior facade is showing. That comprehensive mapping is exactly what converts a simple observation into a verifiable engineering finding.
Our process adheres strictly to industry best practices for structural assessment. Standard homeowner evaluations currently carry no fee, and you keep the written findings either way. A very meaningful share of these professional assessments actually conclude that monitoring the situation is the right recommendation, rather than immediately jumping to costly repairs.
In fact, standards from the American Society of Civil Engineers (ASCE) suggest that stable cosmetic gaps under 1/16 of an inch rarely require immediate invasive support. You should always start with a data-driven baseline before signing a repair contract. Reach out to schedule your baseline elevation mapping and get a definitive answer.